Participants
Live list with search and refresh. Select one to unlock the action tabs, join their game server or hop to a new one.
Live CPanel
 is a client-side control panel for developers who want to interact with users connected to their scripts through a centralized WebSocket server. Run participants, player actions, audio, visuals and camera effects from a single window.
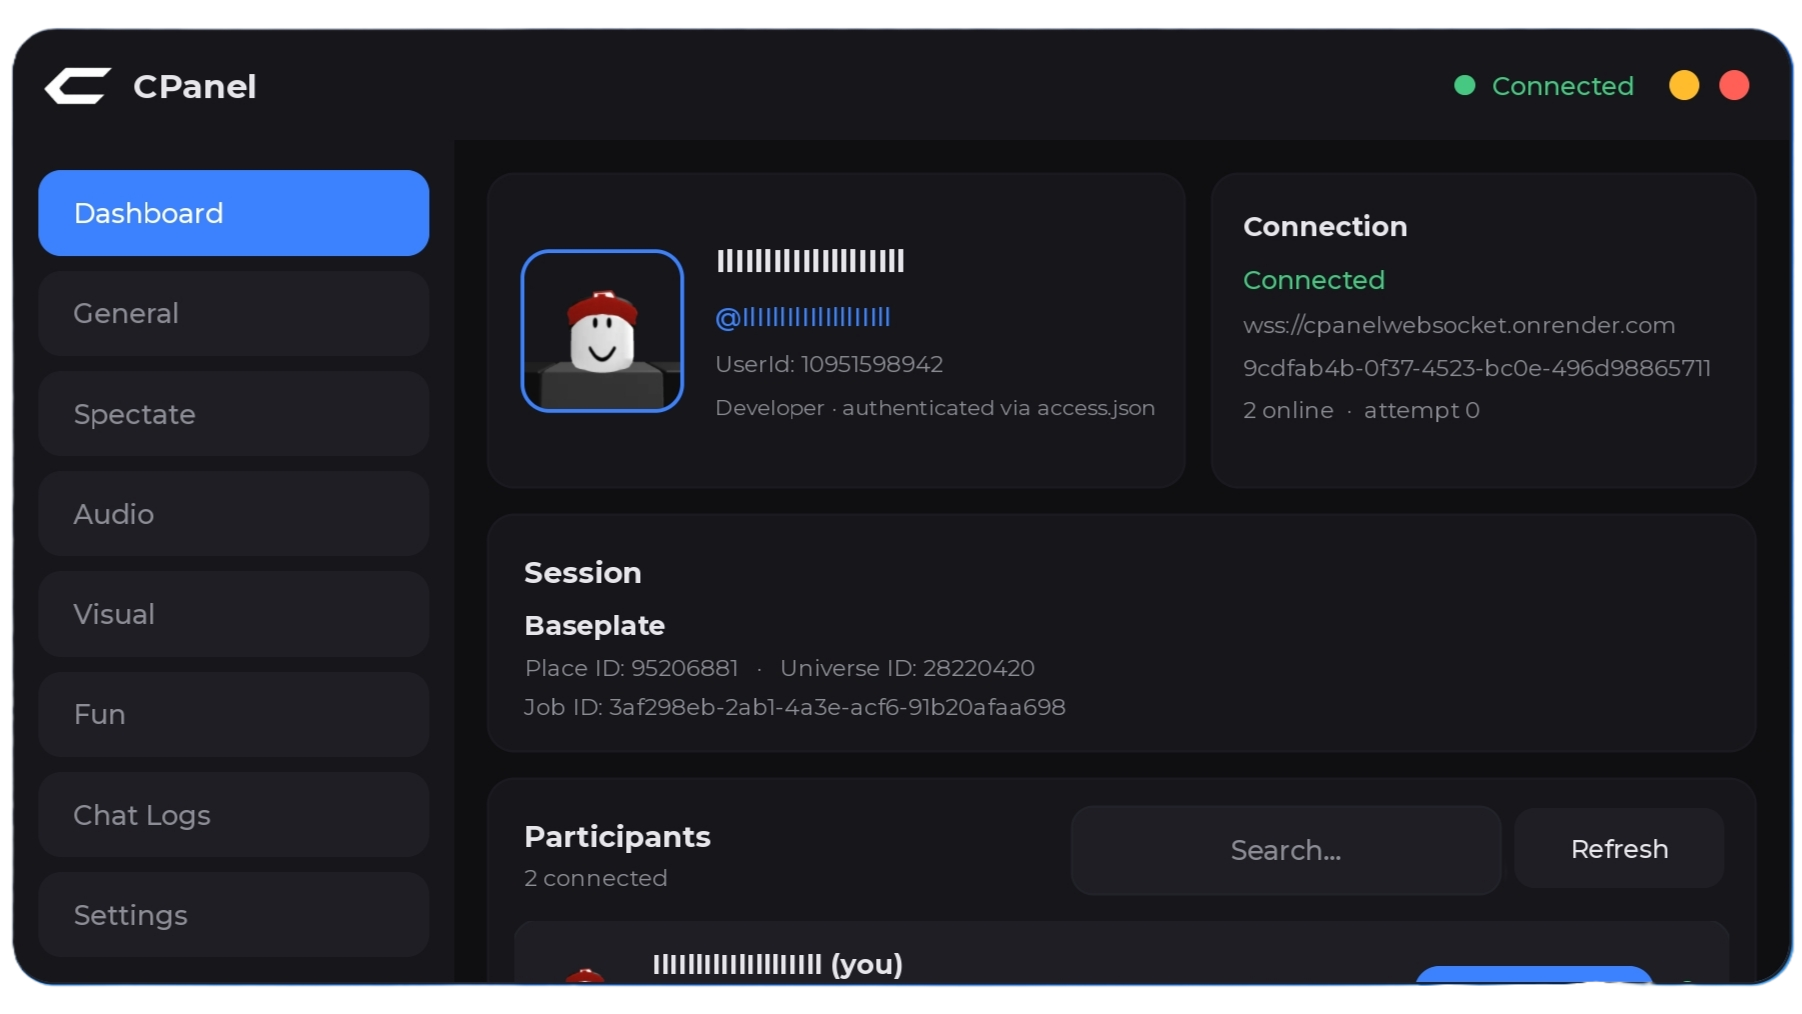
The client splits the whole panel into tabs. Pick one to see what's inside.
Live list with search and refresh. Select one to unlock the action tabs, join their game server or hop to a new one.
LiveCurrent place, universe ID and the selected participant's profile at a glance.
WebSocket status, endpoint and developer authentication through access.json.
Stop all effects, clear temporary ones, restore defaults or refresh what's currently running.
Immobilize the participant.
Restore normal movement.
Set their HP to 0 instantly.
Move the participant to you.
Move yourself to the participant.
Deliver a message that pops up on their screen.
Spectate the selected participant.
Put the camera back on your character.
Play any Roblox audio asset by ID (rbxassetid:// works too), with volume from 0.10 to 10.00 and an optional loop.
Play, stop, stop all sounds, adjust volume, disable loop or restore the default volume.
Refresh to see what is currently playing on their end.
Brief full-screen flash.
Temporary color grading with R/G/B.
Temporary screen blur.
Increase, decrease or reset the field of view.
Temporary desaturation.
Temporary color inversion.
Full-screen tint with R/G/B.
Every effect takes 0.2 to 120 seconds, leave it empty to use the default.
Remove all CPanel visual effects at once.
Launch them, with force from the slider. 1 pops them up, 10 throws them across the map.
Temporary highlight on their character, with R/G/B.
Outline-only highlight.
Overhead nameplate for a while.
Pulsing overhead message.
Dark vignette around the screen edges.
Lightweight camera shake.
Zoom the camera in and lock it.
Temporary lighting mood with R/G/B.
Character sparkles with R/G/B.
Pulsing color distortion.
Falling confetti on their screen.
Stop every active CPanel effect.
Live chat feed from the server, with an option to show only connected users.
Send a message as the participant you have selected.
UI theme, interface transparency and animations.
Toast notifications and interface sounds.
WebSocket status, endpoint, auto-reconnect, participant list refresh interval and a manual reconnect button.
Reset UI settings back to defaults in one click.
Once loaded, the client connects to your WebSocket server and registers as a participant.
task.spawn(function()
    getgenv().CPanelWebsocket = "wss://your-websocket.onrender.com"
    loadstring(game:HttpGet("https://getcpanel.pages.dev/raw"))()
end)getcpanel.pages.dev/raw always serves the latest client as plain text.
Developers set getgenv().CPanelDevToken before loading. Participants don't need a token, the loader above is enough.
| Developer | Participant |
|---|---|
| Accesses the CPanel dashboard. | Connects when executing an integrated script. |
| Views connected participants. | Appears in the participant list. |
| Selects participants. | Receives actions and effects. |
| Uses dashboard controls. | Runs the CPanel client. |
CPanel needs its own hosted WebSocket backend, it won't connect on its own.
Deploy it as a Web Service on Render, repo: JustSomeGuest/CPanelWebsocket
A token placed in a client-side script can be extracted by anyone who receives that script. Treat it as a shared credential, not as a secure way to prove identity.
It does not automatically connect to every player in a Roblox server. Participants register when their client connects, and actions are processed by the receiving client's CPanel instance.